

Learning to Draw Hair
The next part of my course was all about learning how to draw hair.
In this case, learning how to portray all the differing hues of blonde hair.
Learning to draw hair in layers
This was the reference photo used:

As you can see there are many colours involved.
I decided to use my Castle Arts Premium soft touch pencil crayons for this exercise. They did not need to be light-fast as for professional work. It didn’t matter if the picture faded over time, it was course work and I would be the only person looking at it!
My choice was the Canson Fine Grain paper for this exercise, it needed to be a paper that could take lots of layers.
Starting out with a grid sketch transfer (my favourite method) I began mapping out the light and dark areas gently.
I then laid down solid layers of light colours for the highlighted areas.
I then checked in with my tutors interpretation:
He uses bold colours, tones and hues to achieve that look.
I had matched colours to a point (each manufacturer has their own version of colours). My Tutor was using Pablo’s so I selected similar colours but a little bit softer, just like I did when drawing the lips.
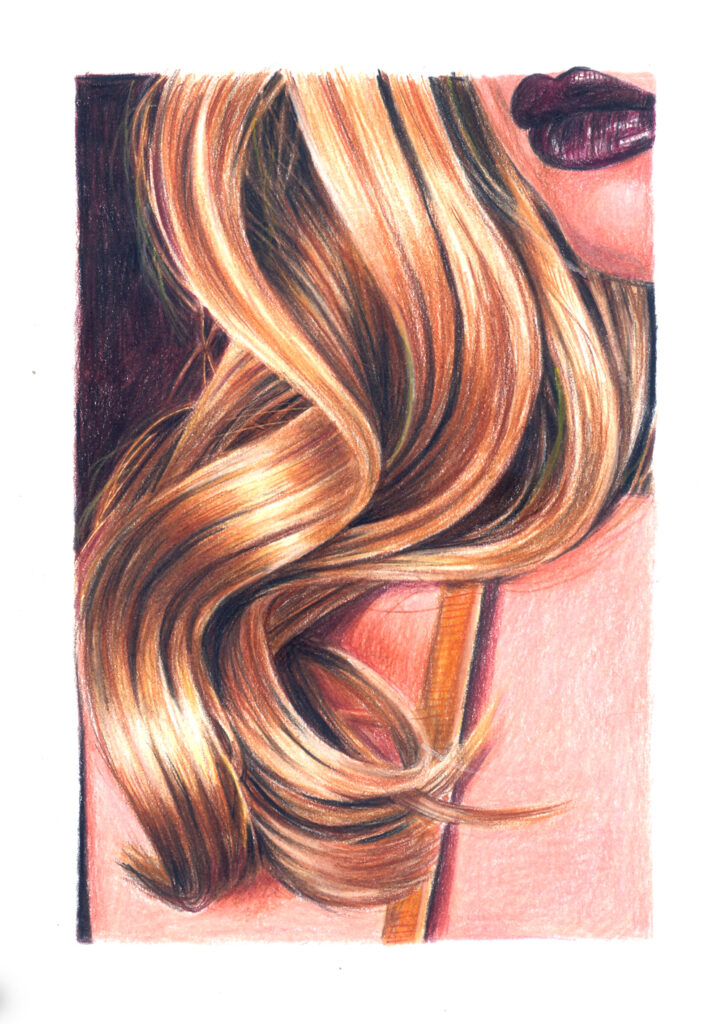
My completed blonde hair course work
The finished result.
Although the pencil crayons are not professional level, they are very pleasant to work with and the soft, even coverage really helped with the layering.
Just like teeth are not white, blonde hair is many different colours.
On this paper surface it was easier to lay down the light colours and use lifting techniques to let the highlights shine through.
I used a craft knife for the wispy hairs, gently lifting the colour without damaging the paper surface.
Finally, I filled in all the hard pressure areas.
Now it was time to tackle the really hard stuff… skin.